
Write something

Jun 21 •
Convert Claude into 12 Employees
12 employees. Zero salaries. I built a command center where 12 AI agents run my entire business. CEO Agent at the top — assigns work every morning. Sales, Finance, Ops, HR, Marketing, Dev, Customer Success, Content, Analytics, Partnerships, Design — all reporting in. They hand off tasks to each other. They post updates in a group chat. They work off a Kanban board like a real team. I just approve the work. This is what running a company looks like in 2026 🤖 Save this if you're building your own AI team.
May 27 •
HOW TO BUILD YOUR CEO AGENT
Most people use AI as a chatbot. This turns it into your CEO. 🧠 Last month I posted this exact setup — 4M+ people watched it and one question kept coming up in the comments: "How do I actually build this?" So here's the full breakdown 👇
May 15 •
20 Claude Skills Every Business needs
Most businesses are using Claude like a basic chatbot. The ones winning? They've installed Skills — plug-in instructions that turn Claude into a specialist for any task. Marketing. Sales. SEO. Office docs. Automation. Competitor research. I've compiled the 20 best Claude Skills every business should have — with direct GitHub links.
4
0
May 10 •
Content Dashboard
Setup Guide — From Zero to Running in 5 Minutes Prerequisites (one-time, 10 mins if you have nothing) 1. Install Node.js Go to nodejs.org → download the LTS version → install it Open Terminal / PowerShell and verify: node -v should print something like v20.x.x 2. Install VS Code Go to code.visualstudio.com → download → install Open VS Code, press Ctrl+ ` to open the built-in terminal (you'll do everything from here) 3. Get your API keys Service Where to get it Cost Apify console.apify.com → Settings → Integrations → API token Free $5 credit on signup OpenAI platform.openai.com/api-keys → Create new key ~$1–2 for a full run Anthropic console.anthropic.com → API Keys → Create key ~$0.20 for calendar Setup Steps (5 minutes) Step 1 — Unzip the project Extract creator-dashboard.zip anywhere on your computer (e.g., Desktop → creator-dashboard folder) Step 2 — Open it in VS Code File → Open Folder → select the creator-dashboard folder Step 3 — Open the terminal inside VS Code Press Ctrl + `` `` ` (backtick key, top-left of keyboard) Step 4 — Install dependencies Paste this in the terminal and hit Enter: npm install Wait ~1 minute while it downloads packages. Step 5 — Create your config file In the terminal: cp .env.example .env.local Then in VS Code's file explorer on the left, click .env.local to open it. Fill in your values: APIFY_API_TOKEN=apify_api_xxxxxxxxxxxx ← paste from Apify console OWN_INSTAGRAM_USERNAME=yourhandle ← your Instagram, no @ COMPETITOR_HANDLES=handle1,handle2,handle3 ← competitors, no @, comma separated OWN_REELS_LIMIT=40 OPENAI_API_KEY=sk-proj-xxxxxxxxxxxx ← paste from OpenAI ANTHROPIC_API_KEY=sk-ant-xxxxxxxxxxxx ← paste from Anthropic Save with Ctrl+S. Step 6 — Start the app npm run dev You'll see: ▲ Next.js 14.x.x - Local: http://localhost:3000 Step 7 — Open in your browser Go to http://localhost:3000 First Run (inside the app) Dashboard → Click "Scrape My Reels" — pulls and analyses your last 40 reels (~5–10 min)
2
0
May 9 •
100 Claude Code Tips
I've collected 100+ Claude Code tips specifically for business owners — real use cases, actual workflows, things that save you hours every week. Not a course. Not a paid newsletter. Just a doc.
0
0
1-12 of 12
powered by
skool.com/phaze-ai-6084
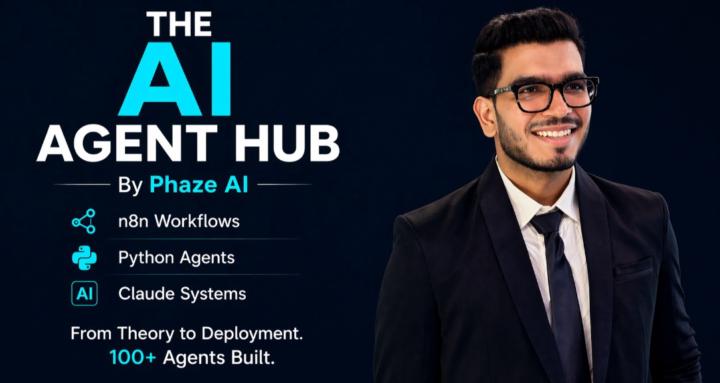
Welcome to the AI Agent Hub by Phaze AI. Stop the theory, start building. Learn n8n, Python & Claude. Get free guides, automate your business & scale!
Suggested communities
Powered by